
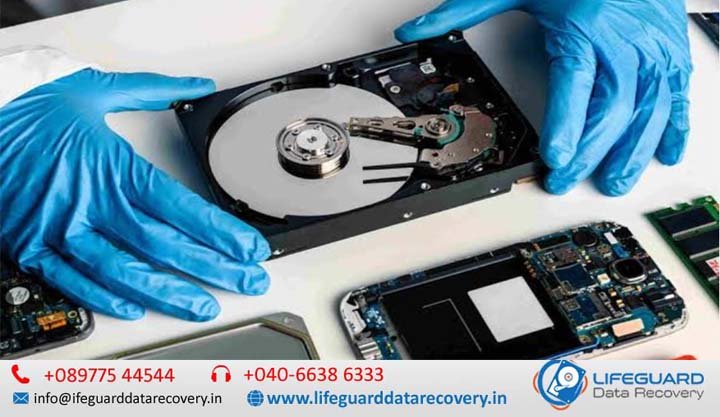
how to recover corrupted hard disk data
Dealing with an inaccessible hard drive, corrupted partition, or disappearing files can feel like an emergency-especially when critical business documents or personal photos are on the line. Hard drive corruption is one of the most common storage failures, but in the vast majority of logical failure cases, your files are still intact. They simply lost their directory pointers. This guide provides a safe, battle-tested recovery workflow. You will learn how to diagnose drive health, extract files using hard disk data recovery techniques without risking further loss and apply step-by-step methods to repair corrupted hard drive without losing data. Understanding Hard Drive Corruption: Logical vs. Physical Failure Before attempting any corrupted hard disk recovery, you must determine whether your storage device suffered software-based degradation or hardware-level destruction. Logical Drive Corruption (Fixable at Home) Logical corruption happens when the underlying software infrastructure managing your files breaks down while the physical disk components remain fully operational: File System Degradation: Failures in NTFS file system corruption or FAT32 structure where the OS loses track of cluster allocation tables. Bad Sectors: Degraded magnetic areas on mechanical platters or worn-out flash memory cells in SSDs. Partition Table Corruption: Master Boot Record (MBR) or GUID Partition Table (GPT) corruption rendering volumes invisible or unformatted. Improper Ejection & Power Cuts: Unexpected power drops during active write operations leaving half-written metadata logs. Physical Drive Damage (When to Stop DIY Attempts) If you are dealing with a damaged hard disk exhibiting physical failure, running DIY software scans will overheat or degrade the internal components, turning recoverable data into permanent loss. Warning Signs: How to Spot a Corrupted Hard Drive Early Hard drives rarely fail without prior warnings. Recognizing the signs of hard drive corruption early gives you time to extract data before the drive drops off the system bus completely. Common Error Messages and System Behavior “Drive is Not Accessible. Access is Denied.” Indicates file permissions or security descriptor corruptions. “The disk structure is corrupted and unreadable.” Indicates Master File Table (MFT) or root directory corruption. “You need to format the disk in drive X: before you can use it.” Triggered when the OS file system driver fails to read the partition index. Extremely Slow Read/Write Speeds: File transfers dropping to bytes per second or freezing File Explorer during simple directory opens. Files Disappearing or Corrupting: Opening a folder reveals missing items or files displaying unexpected zero-byte sizes (hard drive not showing files). The Golden Rule: Recover Corrupted Hard Drive Data Before Attempting Repairs Most tutorials instruct users to run system commands like CHKDSK first. This is dangerous. Repair utilities attempt to enforce consistency in the file system by deleting orphan files, unlinking damaged index trees, and reallocating bad sectors. To recover lost data from corrupted HDD media safely, always follow the Data First, Repair Second methodology: Phase 1 (Data Extraction): Clone or scan the disk to copy accessible and deleted files off to a secondary healthy storage drive. Phase 2 (Disk Repair): Run repair commands, command-line utilities, or disk reformatting only after your essential files are safely copied elsewhere. How to Recover Files from Corrupted Hard Drive (Step-by-Step) Follow this safe workflow to recover files from corrupted hard drive setups without writing new data to the target disk. Method 1: Create a Byte-Level Disk Image (Safe Scan Method) When a hard drive has physical bad sectors, scanning it repeatedly with data recovery software subjects the magnetic platters to heavy stress, which can cause total drive failure mid-scan. Connect a healthy external hard drive with equal or larger capacity than the corrupted disk. Use a disk cloning utility (such as OSForensics, FTK Imager, or DD-Img) to create a Byte-by-Byte / Raw Disk Image (.img or .dd format) of the corrupted drive. Once the image file is created, safely disconnect the original corrupted hard drive. Mount and run your data recovery software tools on the static disk image file instead of the physical drive. Method 2: Extract Files Using Data Recovery Software To recover deleted files from corrupted hard disk partitions or unreadable volumes, use specialized data recovery software (e.g., Disk Drill, Stellar Data Recovery, or EaseUS Data Recovery Wizard): Download and Install: Install the recovery software onto your primary OS drive (C:). Never install software onto the corrupted drive. Select Target Drive: Launch the program and choose the corrupted volume or mounted byte-level image file. Run Deep Scan: Allow the software to run both quick file system index scans and deep signature-based file scans (raw recovery). Filter & Preview: Use file filters (Images, Documents, Videos) and use the preview tool to check file integrity before restoring. Save to a Safe Location: Select the target files and click Recover. Choose a destination path on a separate healthy disk. Method 3: RAW Hard Drive Recovery (Fixing Drives Showing RAW File System) When a storage device experiences severe file system header corruption, Windows loses its ability to parse NTFS or FAT32 metadata and re-labels the drive volume as RAW. Why Drives Become RAW: Damaged Volume Boot Record (VBR), corrupted MFT entries, or corrupted partition header signatures. How to Recover Data from RAW Partition: Open your data recovery software. Select the Unallocated Space or RAW Partition listed under the disk index. Perform a Signature Scan (Raw File Search). This bypasses the broken file system index and reads raw binary file headers (e.g., searching for PNG, PDF, or DOCX file signatures directly across drive sectors). Restore identified files to your secondary drive. How to Repair Corrupted Hard Drive Without Losing Data Once your critical files are secured on another storage device, you can safely proceed with fixing the drive structure to make it usable again. Step 1: Run CHKDSK via Command Prompt The Check Disk tool repairs system errors, fixes unallocated file chains, and isolates bad sectors on the disk surface. Press Windows Key + S, type cmd, right-click Command Prompt, and choose Run as Administrator. Type the following command (replace X: with your corrupted drive letter): Parameter breakdown: /f: Fixes logical file system